The long awaited successor to Cisco VIRL dropped last week. Say hello to Cisco Modelling Labs 2.0! The original name to the successor of VIRL was going to be VIRL 2 and then Cisco decided to rebrand it Cisco Modelling Labs 2. CML2 comes in two flavours Personal Edition up to 20 nodes and Enterprise Edition. This post will focus on the Personal Edition running on an ESXi 6.7 host. CML2 comes with many new features including HTML5 management and a local breakout tool for console and remote access.
Initial Setup
1. First step is to download the files from the Cisco download portal. To gain access you will need to purchase a license and at the time of writing CML2 PE is $199 USD. Be sure to download the OVA and the reference platform images ISO file. The ISO will need to be mounted to your virtual cdrom drive on your virtual appliance.

2. Copy the license key from your Cisco Learning Store Account page. For CML2 the license is just a text string. Put it in a text file and keep it handy.
3. Import the OVF into your ESXi host (or baremetal server).
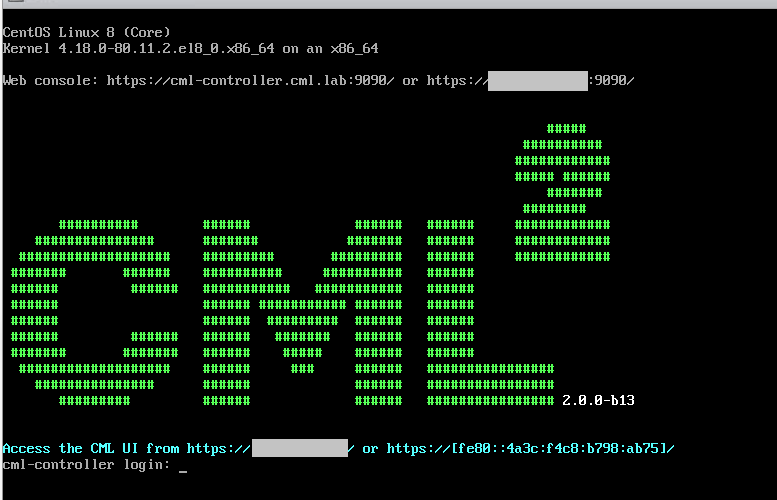
4. Once the VM boots you’ll run through the inital wizard to configure the system user and the admin user. As well as ability to set static IP on the management interface.

5. The URLs to manage the CML2 install are as follows:
https://x.x.x.x - CML2 Lab Manager - username is admin

https://x.x.x.x:9090 - CML2 Platform Management - username is sysadmin
6. Once your logged into the Lab Manger, the first action is to license CML2 so that you can run a lab. Copy your license key and go to Tools > Licensing > Register. Paste your key and click ‘register’. Note if you are behind a proxy server you can change the transport settings to use a proxy. CML2 uses Cisco’s Smart Licensing System. If you have an on prem smart licensing server you can use this as well under the transport settings.

7. The new CML2 interface is refered to as Lab Manager. From here you can create a topology and with the Personal edition add up to 20 nodes. Below are screenshots of the Lab Manager UI and Workbench:


As above, I have built a simple hub and spoke lab using the new CML WAN Emulator which acts like an ethernet bridge but with the ability to simulate jitter and bandwidth. The rest of the lab includes 2 x IOSv Routers and 2 x IOSvL2 Switches with a Server host at each site.
Managing the lab with your terminal emulator (PuTTY, Secure CRT, Telnet client):
1. Download the brekaout app which is located on the CML2 server you just deployed:
https://x.x.x.x/breakout/breakout-linux-x86_amd64

https://x.x.x.x/breakout/breakout-macos-x86_amd64

https://x.x.x.x/breakout/breakout-windows-x86_amd64.exe
2. Then run it via terminal/cmd with ‘config’ key which will create initial config (the example below is Windows):
breakout-windows-x86_amd64.exe config
You will find config.yaml in directory from which you run breakout.
config.yaml need to be tweaked:
console_start_port: 9000

controller: https://x.x.x.x

extra_lf: false

lab_config_name: labs.yaml

listen_address: '127.0.0.1'

password: your_admin_password

populate_all: true

ui_server_port: 8080

username: admin

verify_tls: false

vnc_start_port: 5900
Be sure to set the listen address to localhost (127.0.0.1) and verify_tls to false as we are using the self signed certificates that were generated by the CML installer.
3. Save config.yaml and then run:
breakout-windows-x86_amd64.exe init
This will create labs.yaml lab config file.
In labs.yaml you need to set enabled to true like so:
"3002e8":

enabled: true

lab_description: ""

lab_title: Lab at Wed 04:31 AM

nodes:
I have truncated my lab.yaml file in the above example.
Now run the command:
breakout-windows-x86_amd64.exe run

4. You can now telnet to localhost – 127.0.0.1 900x where x is the corresponding port number with your terminal emulator.

I hope this post has helped you getting started with CML2 Personal Edition! It is obvious to me that Cisco have really thought long and hard about the successor to VIRL, in that CML2 is designed in a way that allows for network automation and progamability in a lab simulator. There is the the ability to push python scripts directly to the CML2 API and have it automatically create your simulation based on the yaml input. I will look to do another post on this and some of the advanced features in CML2 in the near future.
Comments